|
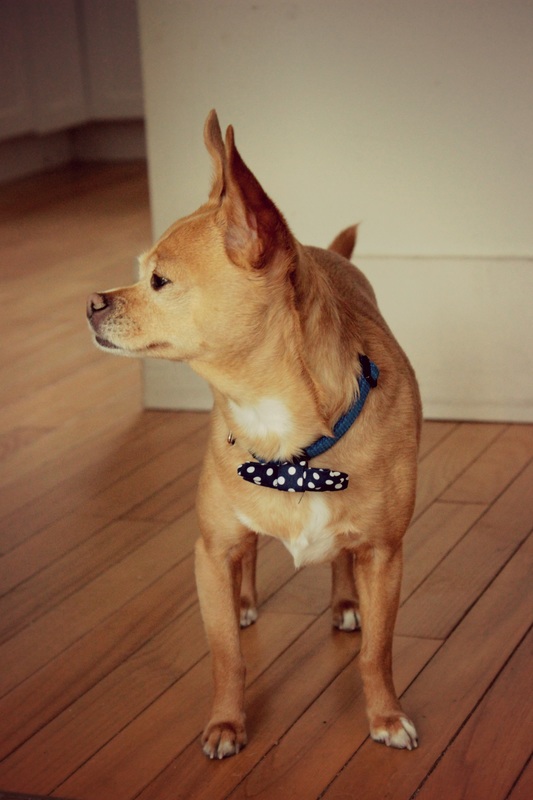
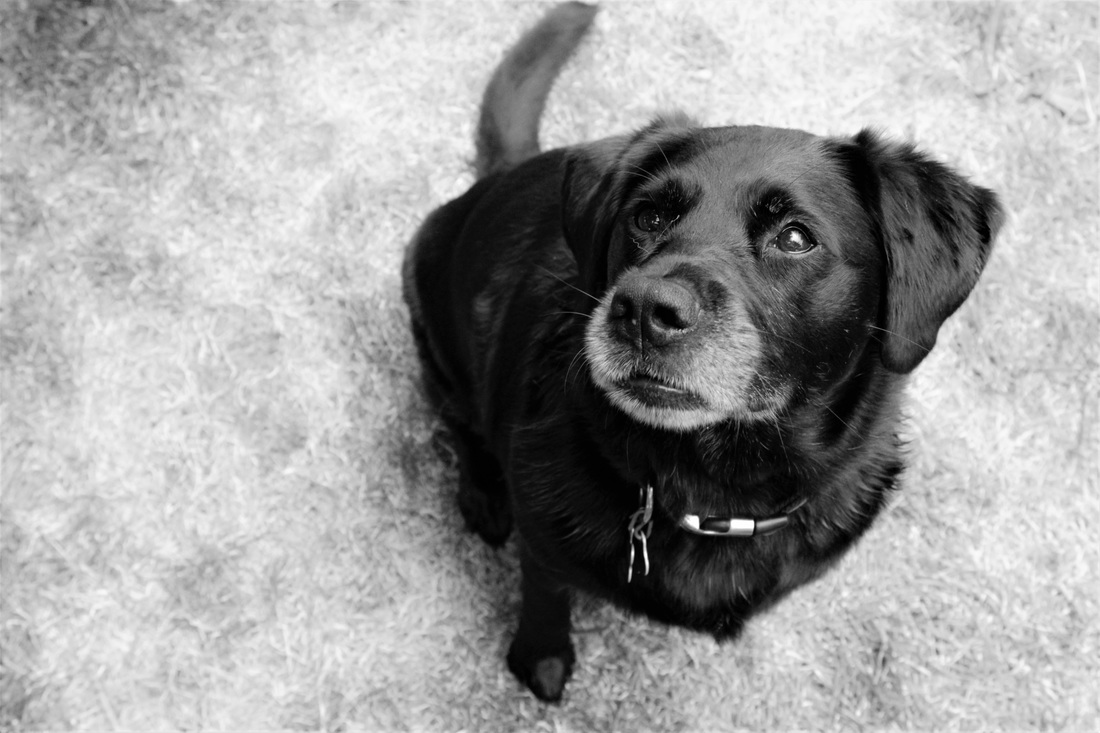
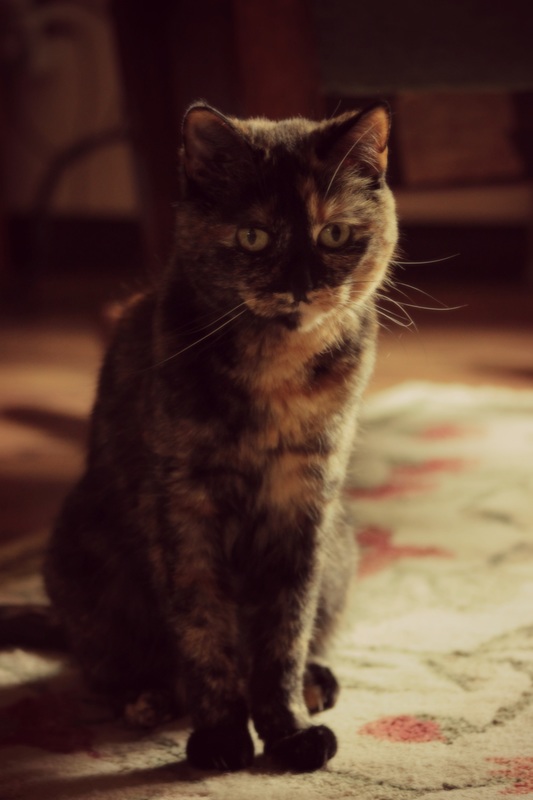
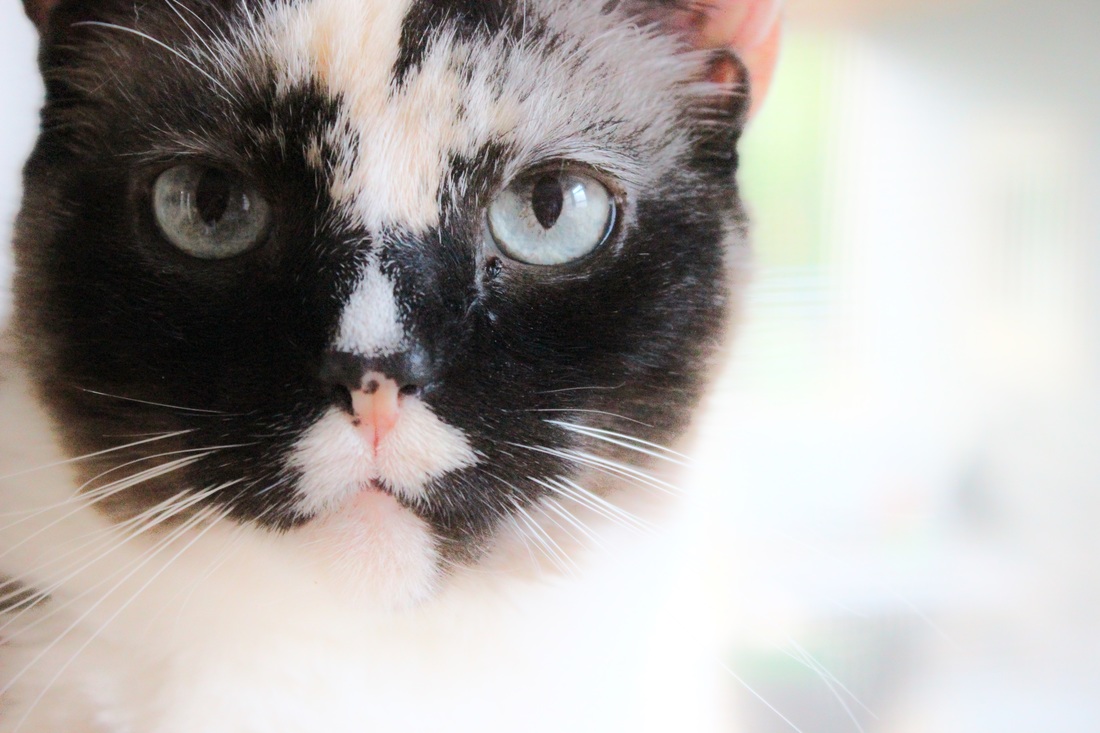
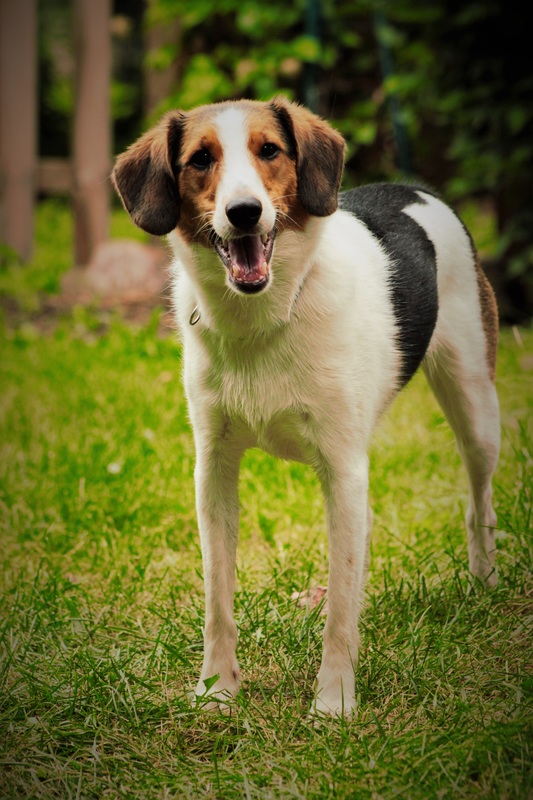
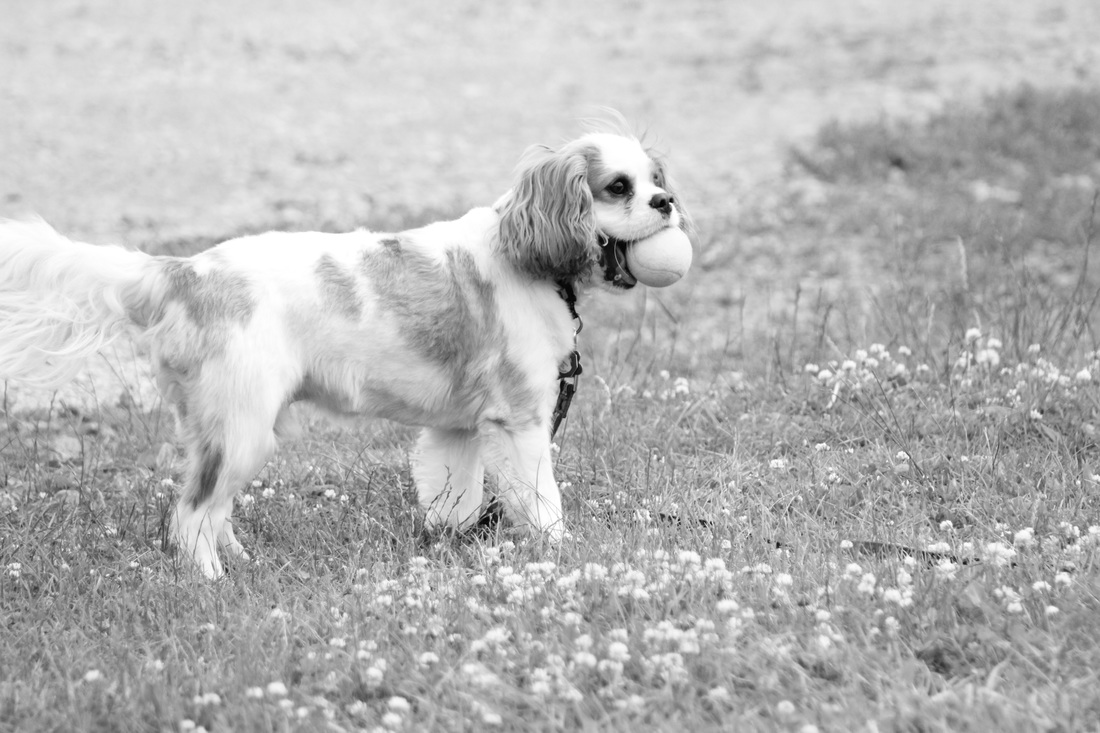
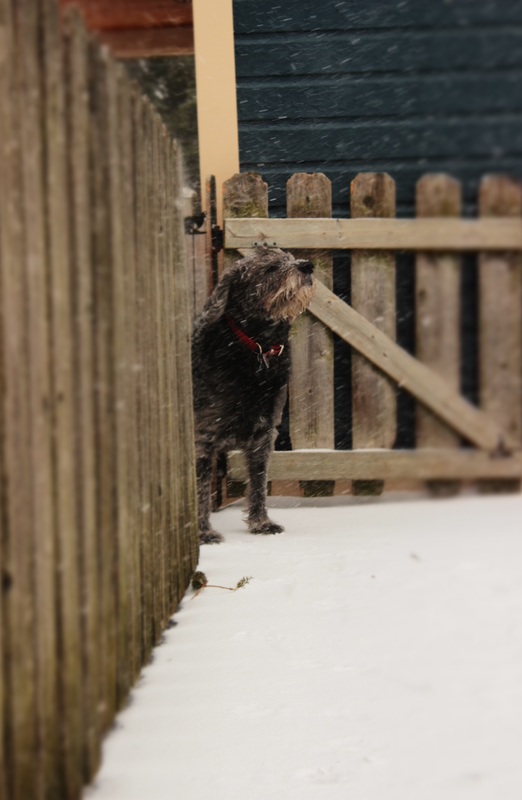
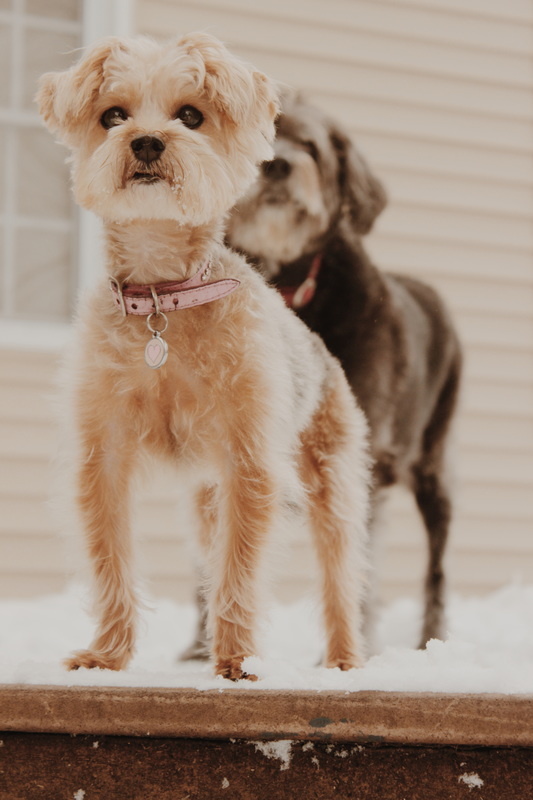
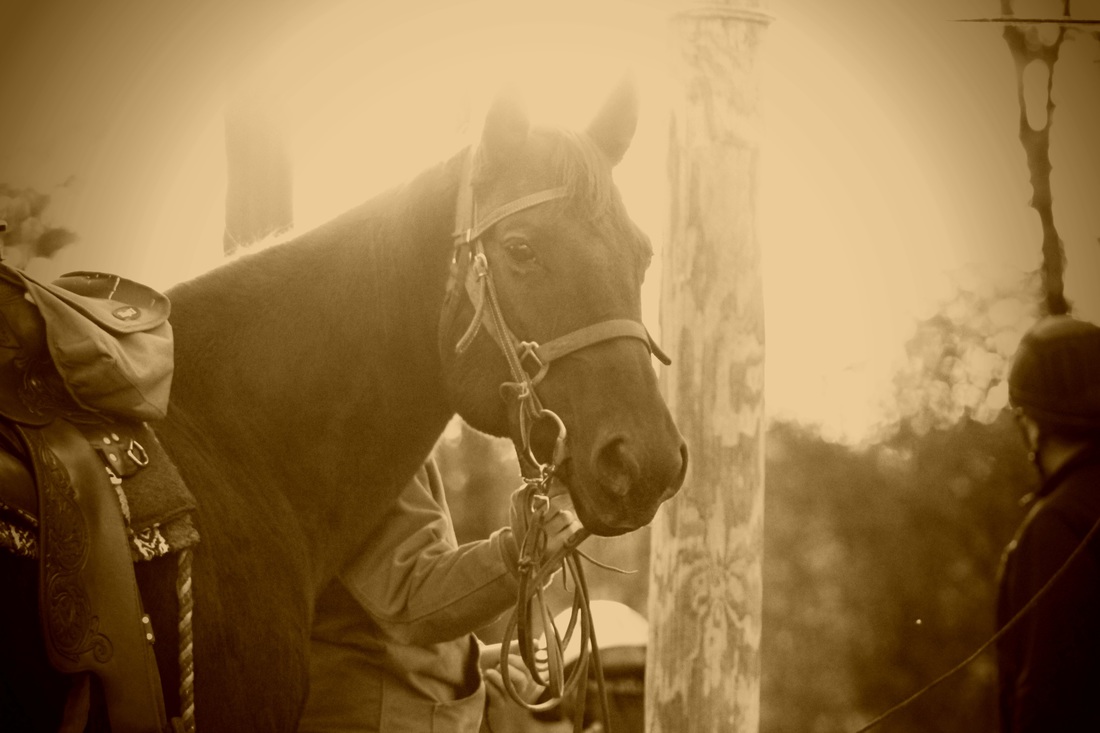
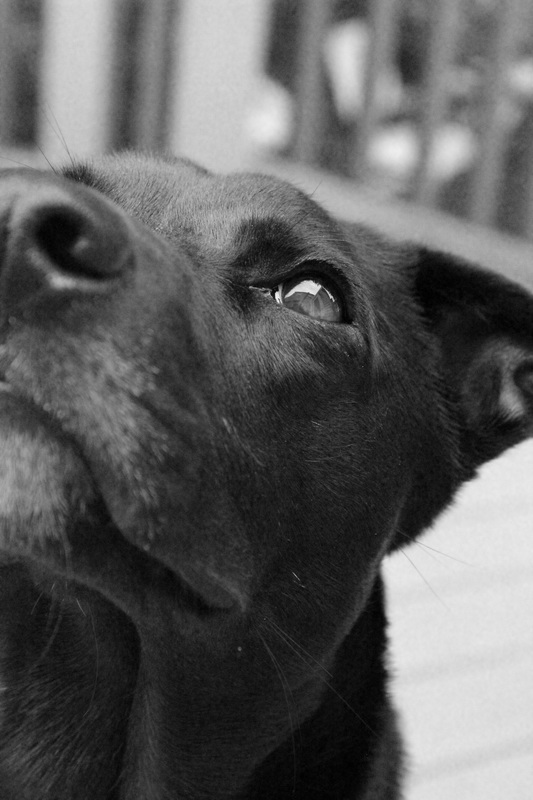
My number one photography model has long been Trixie. From the time I got my hands on a camera, her scruffy, doggy figure has filled the frame. Never before have I attended a photography class. I am completely self-taught. While my photography is far from perfect, I've practiced (and continue to practice) enough for my photographs to come out pretty good on a relatively consistent basis. While I love all photography, my real passion lies in animal photography, specifically pets, specifically dogs. Animals can be a tricky subject, but I believe that if you have any interest, you can learn on your own how to take amazing photos of your pets. In this article I have gathered the basics in hopes that you will end up with a photo you can be proud to hang on your wall.. or post on your wall, depending on your goal! 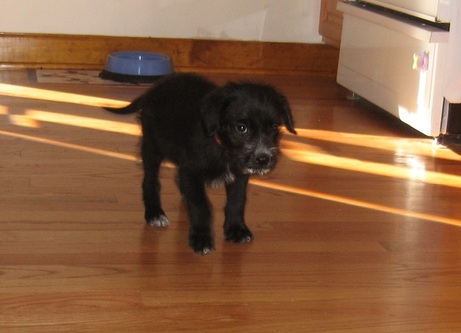 A first of many Trixie photos! Please don't use this photo as a basis for your own photography! Though the subject is adorable, the picture itself is FAR from perfect! The object of this article is to HELP you get your photos to morph from this to something a little more substantial. CAMERA SETTINGS/MODEL My very first tip on capturing that great photo of your pet is, please do not use your phone. Phone cameras come in handy when you 'need' to take random selfies, need to text a quick snapshot to a friend, or a photo opportunity arises and you don't have your camera with you or can't get to it quick enough. Phone photos are rarely quality, often turning out fuzzy or completely blurry. I'm sure you've noticed this from experience. If photography is not your thing, the phone camera is fine. If you want quality photographs, on the other hand, ignore your phone for now... even if it is an iPhone 6. As for camera models, keep to the basics. You do not need a dSLR (Digital Single Lens Reflex) camera to take stellar photos (though a higher-end camera certainly helps!). A dSLR is something you usually work up to. It provides more options and is over all a better quality camera. I own a dSLR and absolutely love it. But, when a beginner, a dSLR is not the end all be all. I suggest first learning manual mode on your camera before getting an SLR of any kind. Start with a basic point and shoot, preferably one that has both auto and manual settings. Be sure that you can turn off the flash when needed. One thing to keep in mind: professionals take lots of bad pictures. Just because you are super talented, have a great camera, are a photography expert, and even a professional does not mean every single picture you take will turn out amazing. This is a great encouragement to the average photographer! I suggest trying manual mode. However, I cannot explain how to use this setting in one article and include all of the pet photography tips. In that case, I would need to write a book, not a blog post! So, to spare time, I have included a link below to a different blog where you can learn the basics of shooting in manual mode. Also, if your camera has the option of manual focus, it is probably best not use it when photographing animals. Pets can be quick moving. Auto focus will work best in most circumstances. 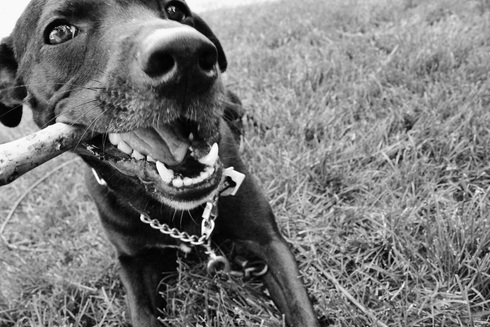 I took this photo using my point and shoot camera. As you can see, point and shoots can take great pictures! Do not feel discouraged or intimidated by dSLR users. ;) LIGHTING The most important facet of lighting to remember when photographing your pet is to never use the flash. Flash photography and animals do not blend...no matter how 'natural' the flash's light seems. The flash mars the animal's natural coat (or feather, or scale) color and usually gives red eye or diluted pupils. Flashes also frighten many animals. Use natural light for the best result. Most likely you will not be photographing your pet in a studio. Therefore, use the great outdoors as your 'studio'. As you play around with your camera and experiment on your pets, you will quickly learn your favorite time of day and favorite kind of weather to shoot in, based on the lighting. Natural lighting can also flood your house. When photographing my parrot, I usually have her perch near a window. Remember that natural light is your new best friend and you will do well in most types of photography. A tricky part of photographing any dark colored animal is the lighting. Black and white dogs and cats have been noted as hard photography subjects. Trixie, though now graying, has been my practice material. Practicing on her, dark-colored animals have never really intimidated me. That said, I understand that for some, black animals are very intimidating. Remember to use natural lighting, first and foremost. Second, this is when manual mode comes in very handy. Ultimately, you just have to experiment. Professionals would suggest overexposing black pets and underexposing white pets, then go back and touch up your photo on a favorite editorial program. Sorry that I can't help you out more on this topic. For me I suppose it was all the practice on Trixie that helped me along! The best advice that I can offer is shoot in natural light, practice, and simply experiment. 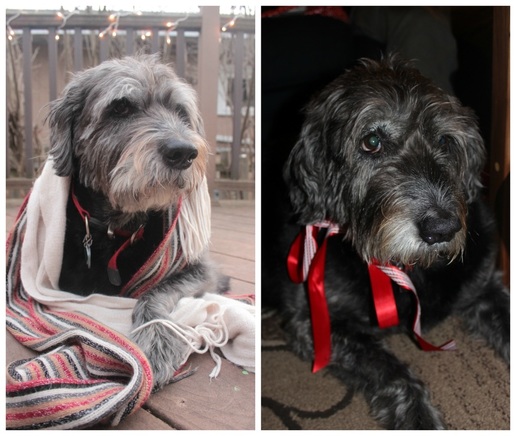 The photo on the left was taken using the natural, outdoor lighting. Note the natural color of the dog's coat. The photo on the right was taken using a flash. You can clearly see the drastic difference. USE THE SPACE YOU HAVE Often, professional photographs look as if a lot of work went into the background and initial setup. While in some cases this is true, remember that the background is often only a snippet of a whole. For example, in the following two photographs, you can see the background that fit the frame and then the entire background. I simply used the space that was available to me. It was taken under the overhang of the garage...a part of my home I see everyday. When photographing your pet, use the space that you have. It's taken me a long time to realize that I can be a little more creative with the space I have when photographing. You do not necessarily have to go to a park or in the middle of a big city to capture a great, creative photograph. You can make your photo in your own backyard like I did with the photo below of Trixie. In fact, with this particular photo, I did not even 'make it'. I just saw the space, thought it would be an eye catching background (especially with the additional snow), called Trixie to me, had her sit and stay and then started shooting away. Notice that I had her look away from the camera (by distracting her with a ball). The subject does not always have to be looking straight into the camera. In fact, I preferred Trixie looking away because it better captured her personality. 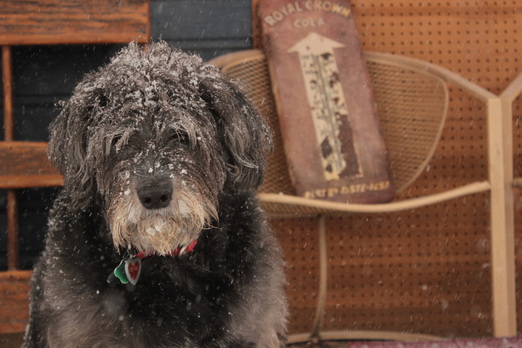 In this photograph, it looks like the background was really well thought out and arranged. In reality, the background is my garage. An 'ordinary', everyday sight for me. Whatever your background is, be sure it 'pops'. Color is good. Plain is good. Props sometimes add. Props sometimes distract. It all depends on your subject, angle, and the message you are trying to convey. At times, you want your only focus to be on the animal, the entire background blurred. Other times, you want the general focus to be on your pet, with the background at least visible (as in the photo above). And still, there are times when you want both in focus. Background and location can tell stories. Set up your photograph, or let it come to you. 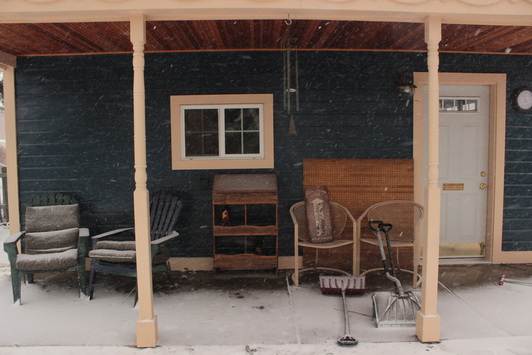 We can only see a snippet of the background in the up-close photo of the dog. As you can see, the background is not something that took a lot of effort. It is just the beautifully painted garage, the rustic wooden shelf, and a few extra, eye-catching props. A NOTE ON FOCUS AND MAKING YOUR PHOTOGRAPHY EYE-CATCHING... 'An animal's eyes have the power to speak a great language.' This is a quote I once found by Martin Buber. I do not exactly know who the man behind the quote is, but I do know that the quote speaks a volume of truth. In photography, it is always the eyes of the being that you want to focus on. The eyes create artistic interest, tell stories, and show beauty. The eyes tell it all. When photographing your pet, try hard to focus on the eye. Also, that little 'glare', or white dot, you see in the eye is very important. In art, that little glare brings life to your subject (a cool fact I read in one photography book!). Of course, sometimes catching the eye isn't doable. For example, in action shots, the animal's face is not always pointed in your direction. Or, you might want your pet looking away from the camera. However, for the average photograph, you will be shooting for the eye. Now, in the case of Trixie, it's not too often you can see the eyes. Her scraggly hair covers most of her face. When you can see her eyes, the camera is often distracted by the fuzzy wisps of hair around her face. In cases like these, what do you do? I have found that the easiest thing to do is make the photograph 'pop'. Your eyes need to be focused on the dog, but drawn to something else (that sound kind of contradictory, doesn't it?! But, I'm about to explain!). This is when props come in very useful. Either get a very fun, colorful, rustic, or quirky background (like in the photo of Trixie under the garage's overhang), or use a brand-new tennis ball, a bright-colored collar, etc. Snow, gardens, and wooded areas will also bring interest to a photo. For indoor animals, use their most colorful toys as props, food dishes, etc. Props work wonders whether you can focus on the eyes or not. When you photograph your pet, do not take a quick snapshot and say, 'Yep, that's perfect!' and walk away. Try different angles. Get down on your pet's level, for example. Keep your finger on the shutter. Remember, your pet will most likely try to move. Even if you have twenty photos of one subject, keep your finger pressing that shutter! You never know which photo will be 'the one'. As a quick note, try switching your own position. If you lean to the right just a tiny bit, you could potentially transform the entire picture. Once again, experiment. 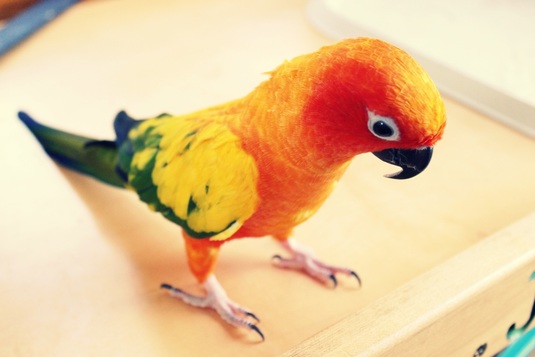 No pun intended, but this angle would be called a 'bird's eye view' because you are focused downwards. Some pet photographers dislike shooting down upon your subject, saying it is an easy 'snapshot'. However, I find this angle sometimes brings out the personality of a pet. From this angle, you can see this parrot's mischievous personality. Different angles really bring out the character or any subject, but especially animals. Note the background. Her bright colors wouldn't make the photo 'pop' if the background was super colorful or busy. In this case, a plain background and no props is needed. PLEASE NOTE: the overall focus is the bird's eye. HAVE FUN If you are reading this article, you probably love your pet. In that case, photographing him or her should be fun, not irritating and stressful. It is your job to be patient, it is the animal's job to simply be an animal. As a quick tidbit, grooming your pet prior to your photoshoot may be a good idea. A good looking animal adds just a little more 'oomph' to the overall photograph! A good photographer captures the personality of his or her subject. While it sounds hard, this part of pet photography is surprisingly simple. If your dog is energetic, for example, take action shots such as the one below. If your dog is lazy, capture him in his favorite sleeping spot. If your dog loves fetch and chewing sticks, capture him or her playing with or chewing on a stick. If your pet adores a certain toy, capture him or her playing with that toy. Candid photos of your pet doing his or her favorite thing can be equally as beautiful as a staged photo. Once again, get creative. You know your pet's personality better than anyone. You may find that you need a photography assistant. For example, if you are getting a picture of your dog chasing a ball, there is a good chance you'll need someone throwing that ball. If you are trying to get a portrait-type photo, how do you get your pet to stay still long enough so that you can capture that 'perfect' photo? Not to mention, capture your pet's personality in the process? To hold your pet's attention, use (species-acceptable) food, or a favorite toy, or rawhide or bully-stick (for dogs) as a bribe. I usually use a favorite toy (like a tennis ball). When I hold the ball, Trixie's attention is generally fixed. I hold my finger on the shutter as I pose her. For about 60 seconds or less I command her, praise her, mess with the camera settings and shoot away. I then will throw the ball for her and once she comes back (rarely with the ball!) I will pet and praise her some more and do it all over again until I'm sure that I got away with at least one great photo. The end result is usually Trixie barking at me for the ball, tired of the photoshoot. But, it's all worth it for that one masterpiece! 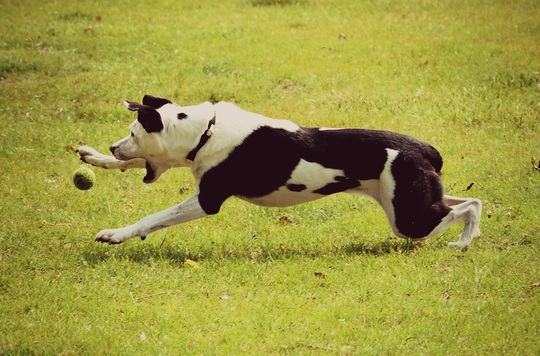 This photo was taken at the local dog park. The dog was in love with his ball. He showed off his speed, he twisted in the air, and put on quite a show for his owner and those visiting the park. Though I barely knew the dog, I knew enough to capture his personality. See how easy capturing a pet's personality can be?! EDITING IS PART OF PHOTOGRAPHY In all honesty, nearly every single stellar professional photograph you have seen has been touched up slightly. I once read that in today's culture and with today's technology, the average professional is expected to edit their photos. The good news is, in today's culture and with today's technology, you do not necessarily have to buy photoshop in order to turn your photo into a masterpiece (Though, a professional photographer may disagree!). Personally, photoshop has never been my go-to photo editor. I suggest downloading two free photo editing apps, at least to start out. Aviary, though basic, is excellent. I use Aviary all the time on my photography and have no complaints. They give a wide variety of filters (filters mess with the lighting, focus, etc.) as well as various other photo adjustments (saturation, crop, sharpen, etc.). More recently I have downloaded VSCO. VSCO is similar to Aviary, just slightly more in depth. It continues to cover the basics, just with a few more options. I am still learning this app. I believe you can create an account and share your edited photos with VSCO users around the world. I, so far, have ignored this facet and just edit my photos privately. As far as editing goes, simply experiment. Try different filters. Try black and white. Crop. Enjoy the process, get creative, and your own style will begin to slowly emerge. For the average photographer, there is no need to go super expensive on editorial gear and programs. Resources: BOOKS -Beautiful Beasties: a creative guide to modern pet photography written by Jamie Pflughoeft http://www.amazon.com/Beautiful-Beasties-Creative-Modern-Photography WEBSITES -Photographing black dogs http://clickitupanotch.com/2013/02/pet-photography-photograph-a-black-dog/ -Photographing based on a dog's personality/temperament http://www.mnn.com/family/pets/stories/7-dog-personalities-and-how-to-photograph-them -Informative photography basics (lighting, composition, etc.) http://postcardsfromrachel.com/2013/08/photography-tips-part-1-ways-to-improve-your-photography/ -Shooting in manual mode (Aperture, ISO, shutter speed) http://bydawnnicole.com/2016/02/photography-basics-3-settings-to-understand-in-manual.html - An excellent pet photographer and pet photography business owner's website and blog http://www.cowbelly.com/Blog/1/caption For inspiration, here is a little gallery of pet photos I've taken. Get inspired, throw out your phone 'camera' and go make some art! As further encouragement, the black and white photo below of the Cavalier King Charles Spaniel was taken using a basic point and shoot. Leave a Reply. |
~COLUMNIST~
Faye L. 
|

 RSS Feed
